Showing posts with label FOR PHOTOGRAPHERS. Show all posts

Wednesday, November 5, 2014

My favorite photograpy apps

As much as I'd love to, I can't lug around my DSLR with me all the time to take photos on the go. Instead, I use my cell phone camera, which is currently an LG Android. I've found a few apps that I love using to edit and share my mobile pics.


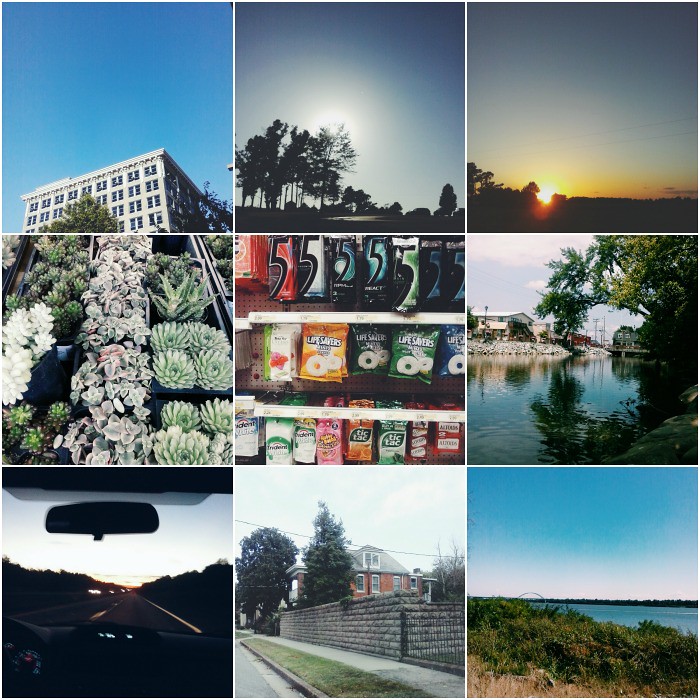
(all of the photos in this collage were edited with VSCO Cam and taken on my phone)

Instagram (iOS and Android)
This one's pretty much a given. While I don't really use the built-in filters anymore, it's become my favorite social media network. I enjoy how easy it is to interact with other people and discover new inspiring feeds to follow  (you can find me @EmiMarg). A tip for taking photos- I've found that using the in-app camera tends to blur easier than just using the camera on my phone, so I always take the photo before opening the IG app.

VSCO Cam (iOS and Android)
My favorite photo editing app so far. I use this for cropping, adjusting contrast, fade, and applying filters to my photos. While I've only used free filters as there are several to choose from, there are many ones you can also purchase. You can adjust the filter after you apply it and I love the black and white filters. They also have a social network of sorts called VSCO Grid, which is similar to IG in that users can post a feed of their photos. It's definitely more art-focused and not as interactive as IG (my grid can be found here), but just about all the photos I've seen are absolutely beautiful to view.

Afterlight (iOS and Android)
Back in the day before I had a smartphone and hadn't found VSCO Cam, I used this app on my iPad. Now, I primarily use VSCOcam, but I do use this one occasionally. It has great editing features and has frame option that allows you to post photos to IG without cropping the square. Any photos you see on my IG that are rectangular have been run through this app.


Do you have any favorite apps for photo editing?

Wednesday, July 2, 2014

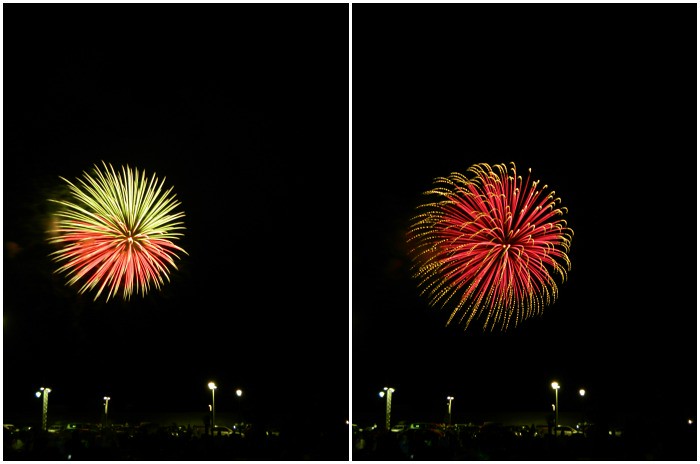
How to Photograph Fireworks | Photography Tips


Independence Day is this Friday! Most of us (if you live in America, that is) will probably watch a firework show, and many of us will photograph, video, instagram, snapchat, tweet, tumble and stumble those photos. So, here are a few tips for getting the firework pictures you want.

1) Use a tripod. Unless you want some crazy-blurry-artsy photos (which sometimes I do on occasion), prop up your camera on a tripod, a box, a rock, or a box of rocks. Really just something to prevent the camera from moving.

2) If you have a DSLR or a camera that allows you to change the settings, I suggest the following:
            -set your camera to manual setting (usually marked as "M").
           -set your shutter to "Bulb", or "B" setting. If your camera does not have a bulb setting, then start with a long shutter speed, such as 20 seconds.
           -place your ISO at a low number like 100.
           -set the aperture to f/5.6.

3) Take some shots and experiment with the settings to create the shot you want. The number of fireworks that go off during your exposure will affect how your photo comes out. If your exposure is too long or there are too many fireworks within the time of your exposure, the shot will be too bright and overexposed. To correct this, you can either shorten your exposure or use a smaller aperture (increasing the f-stop number). If your shot is too dark, do the opposite (lengthen the exposure time or use a larger aperture).

Did any of that make sense? If you have any tips for shooting firework displays please share them in the comments! I'd love to see your shots if you try any of these suggestions.

Thursday, November 7, 2013

Drawing with Light | a tutorial


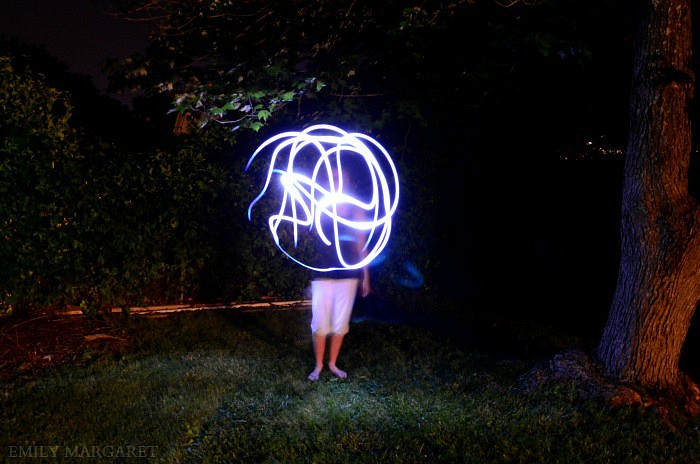
This summer I got the chance to play with my Grandfather's DSLR. I've wanted to try light drawing for a while to see how it worked, so one warm, mosquito-filled night I took the camera, a tripod, and a flashlight out to the backyard.
If you would like to try it yourself, here's how I did it:

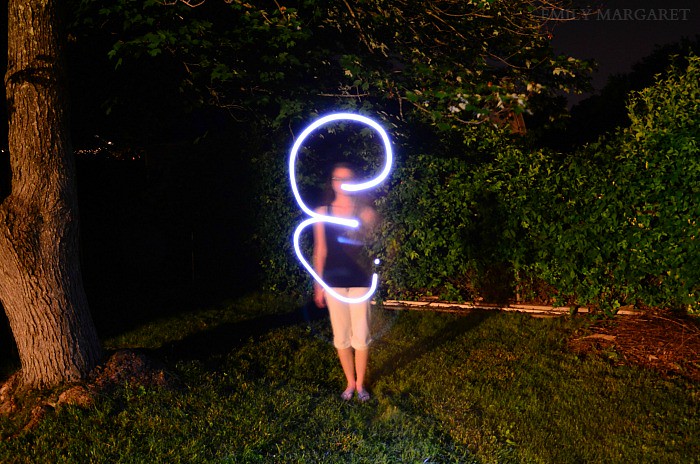
1. Wait until it's beginning to get dark. The first two photos were taken with the outdoor lights on, so it's still completely doable with some light, but you will see the person holding the flashlight. 

2. Put the camera on the tripod and set a long shutter speed. I used a 10 second exposure, but you can experiment to see what works best.

3. Start the exposure and run out in front of the camera, keeping your flashlight turned off.

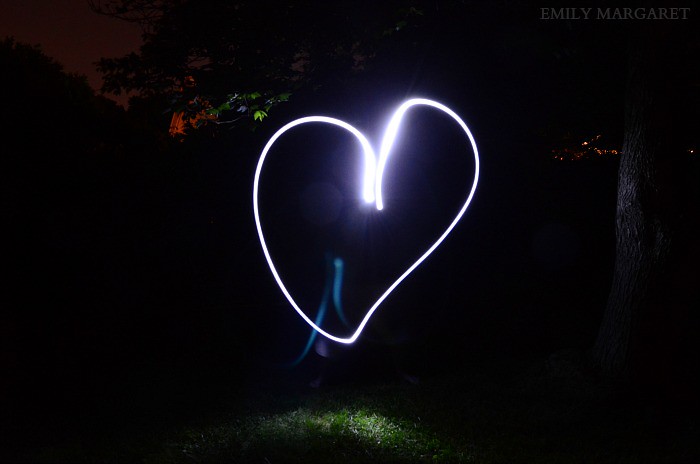
4. Now, turn your flashlight on and start drawing! If you write a word, either turn off the flashlight between letters, or write in in cursive. However you write your word, you will either have to draw the word backwards, or flip the photo in your photo editing program later, or your word will be backwards. I'm not  talented enough to write backwards, so I just flipped the photos in Photoshop. :)

5. Have fun and experiment! Try different words, shapes, letters, colors of light, stand still, or move around. There are no wrong ways to do it, so try anything!


EMILY MARGARET. All rights reserved. © Maira Gall.