
This summer I got the chance to play with my Grandfather's DSLR. I've wanted to try light drawing for a while to see how it worked, so one warm, mosquito-filled night I took the camera, a tripod, and a flashlight out to the backyard.
If you would like to try it yourself, here's how I did it:
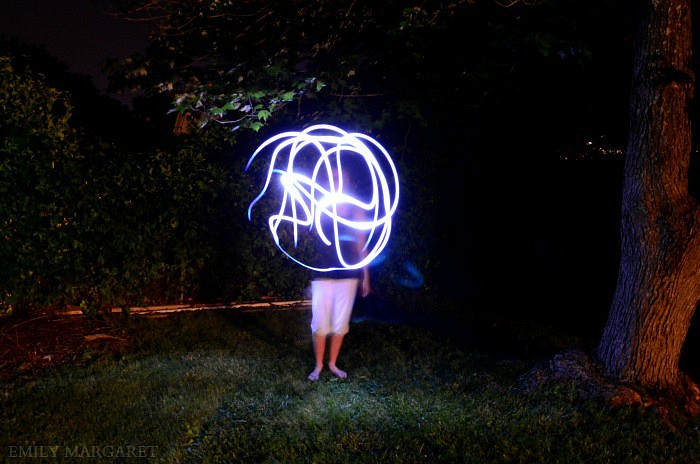
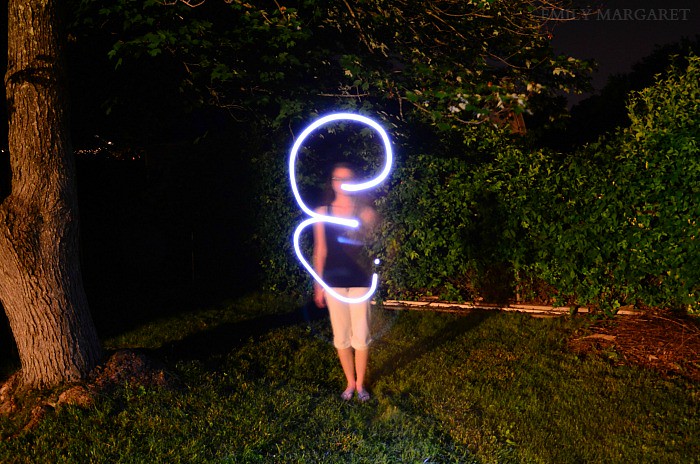
1. Wait until it's beginning to get dark. The first two photos were taken with the outdoor lights on, so it's still completely doable with some light, but you will see the person holding the flashlight.
2. Put the camera on the tripod and set a long shutter speed. I used a 10 second exposure, but you can experiment to see what works best.
3. Start the exposure and run out in front of the camera, keeping your flashlight turned off.
4. Now, turn your flashlight on and start drawing! If you write a word, either turn off the flashlight between letters, or write in in cursive. However you write your word, you will either have to draw the word backwards, or flip the photo in your photo editing program later, or your word will be backwards. I'm not talented enough to write backwards, so I just flipped the photos in Photoshop. :)
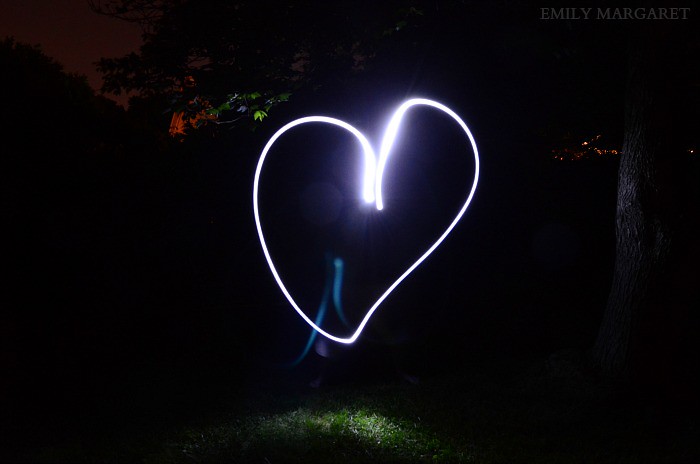
5. Have fun and experiment! Try different words, shapes, letters, colors of light, stand still, or move around. There are no wrong ways to do it, so try anything!

No comments
Post a Comment
I love comments. Thanks for taking the time to add your thoughts!